Managing Events
How do I access the Events page?
- Log in to Providigo.
OR
Select the “Events” link from other Providigo pages.
How do I add a new event?
- Go to the Events page.

- Select the “plus” icon at the bottom of the page.

- Select or enter information in the fields of the Add New Event page.
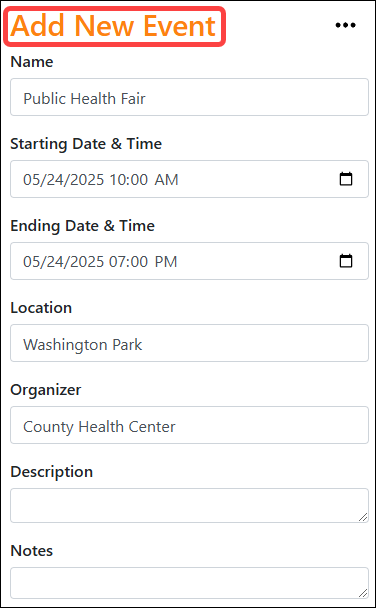
- Select Save at the bottom of the page.

Result: Providigo displays the new event on the Events page.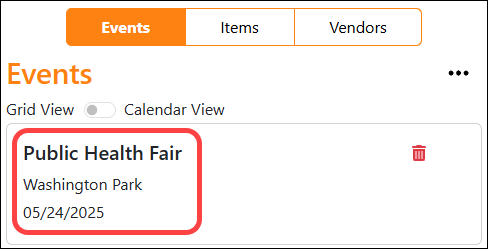
Once I have added a new event, what helpful features can I apply to it?
Features you can apply to an event include:
- Opening and modifying an existing event by clicking the event name in the Events page.
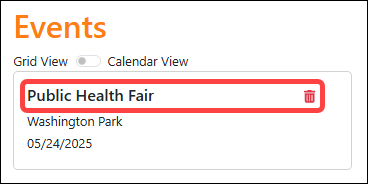
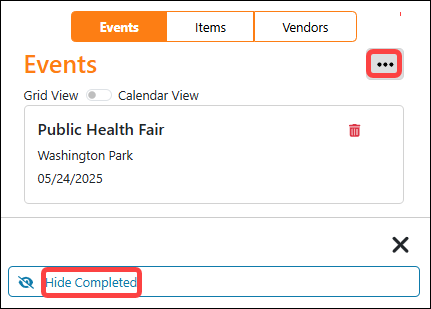
- Deleting an event by clicking the wastebin icon next to the event name.
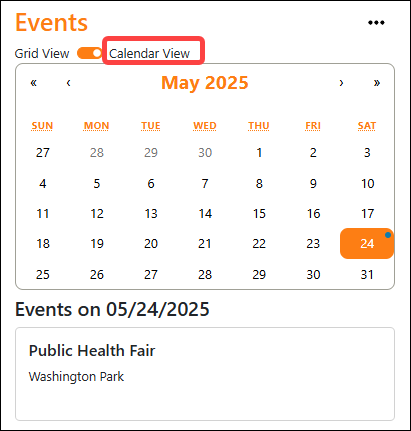
- Viewing a calendar of existing events by clicking Calendar View.
- Hiding a completed event by clicking the ellipsis icon, and then clicking Hide Completed.
Managing Items
How do I access the Items page?
- Select the “Items” link from other Providigo pages.

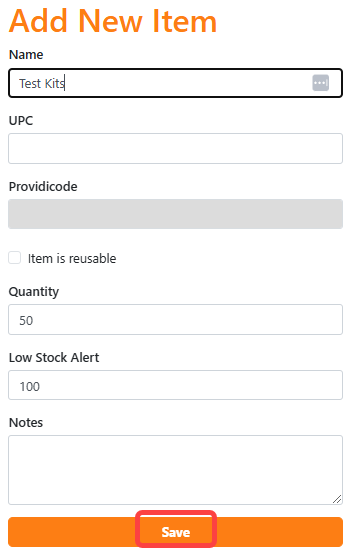
How do I add an item manually?
- Select the “plus” icon at the bottom of the Items page.
- Select Add Item at the bottom of the page.


- Enter desired information into the Add New Item page, and then click Save.
Result: Providigo displays your item on the Items page.
How do I add an item by scanning a barcode?
- Go to the Items page.
- Select the “plus” icon at the bottom of the screen.
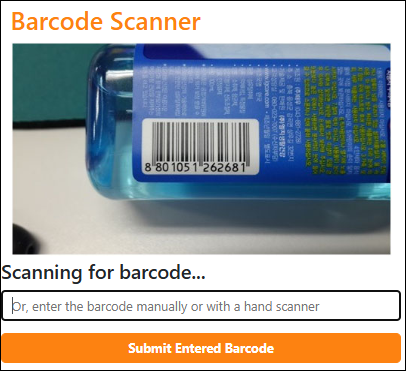
- Select Scan Barcode.


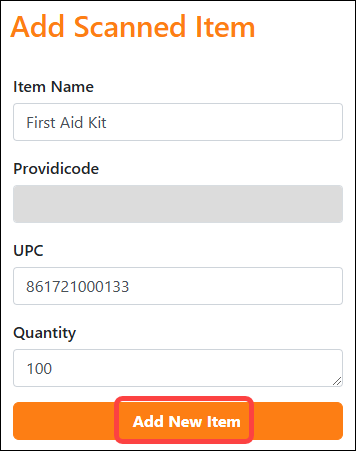
- Use your personal device’s camera or use a hand scanner to scan the item’s barcode. Note: You can also type and submit a barcode manually.

- Enter desired information in the Add Scanned Item page, and then click Add New Item.

- Modify or add information for your item in the Add New Item page (optional), and then click Save.
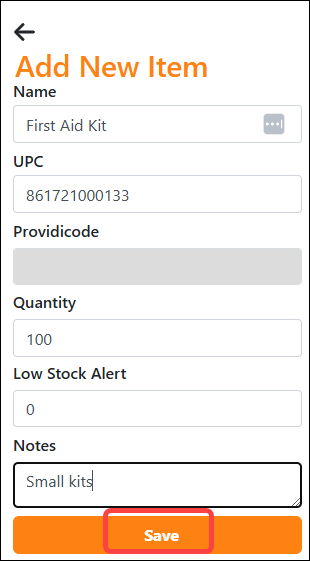

Result: Providigo displays your item on the Items page.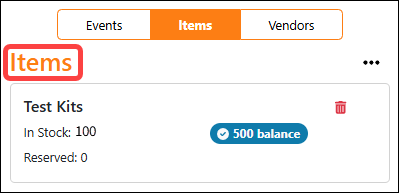

Reserving Items
How do I reserve items for an event?
- Add a new event OR select an existing event on the Events page.
- Scroll to the Reserved items section of the Event Details page.
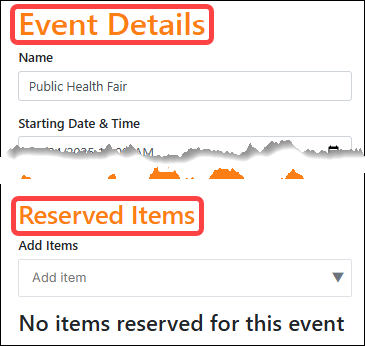
- Click the Add Items dropdown menu and select an item from the menu.
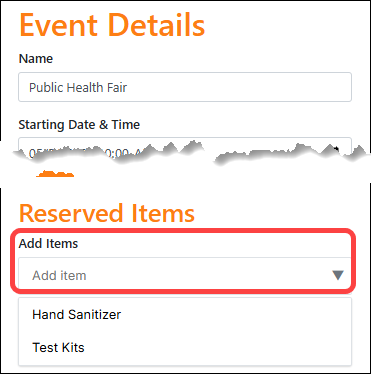
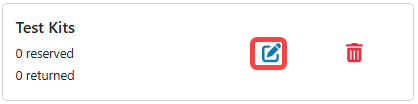
Result: Providigo displays the added item in the Reserved Items section of the page.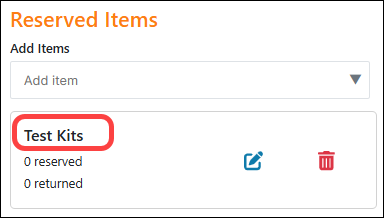
- Click the edit icon.
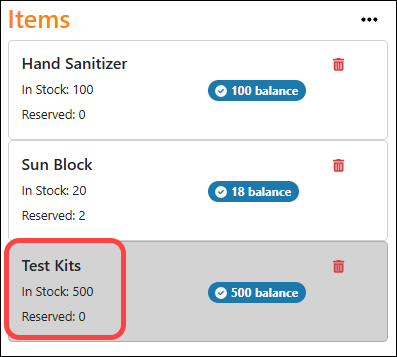
- Enter the number of items you want to reserve in the Reserved field, and then click Save.
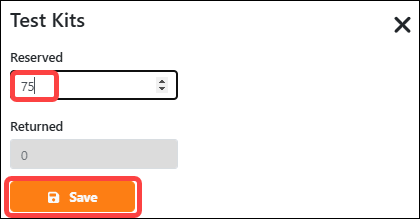
Result: The Items page displays the number of reserved items you indicated and adjusts the item balance accordingly.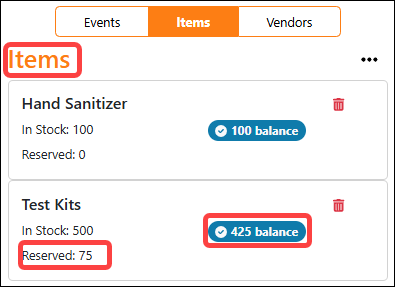
Sorting & Filtering Items
How do I sort my Items list?
You can sort your list of items so that Providigo displays them in order by number of items in stock, number of items reserved, and item balance.
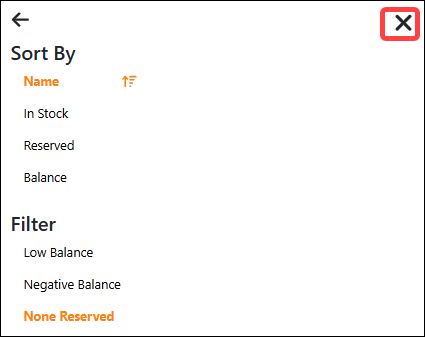
To sort items, follow the steps given next. The images in the steps illustrate sorting by “In Stock.”
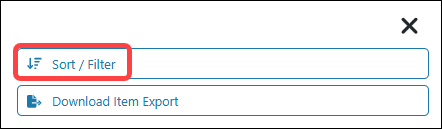
- Select the ellipsis icon on the Items Page.
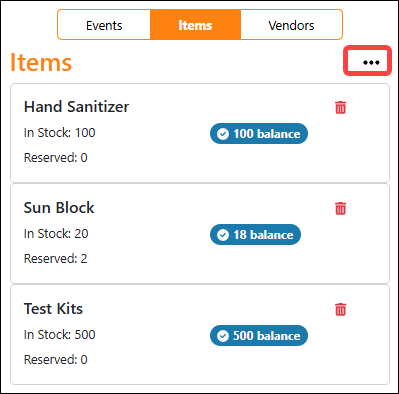
- Select Sort / Filter near the bottom of the page.
- Select In Stock, Reserved, or Balance in the “Sort By” section of the page to sort items in ascending order.
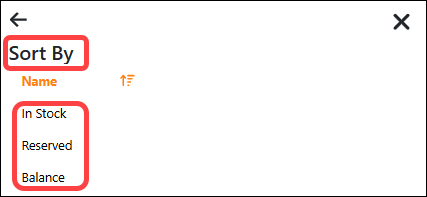
- (Optional) Select In Stock, Reserved, or Balance again to sort items in descending order.
- Select the “X” icon in the lower portion of the page.
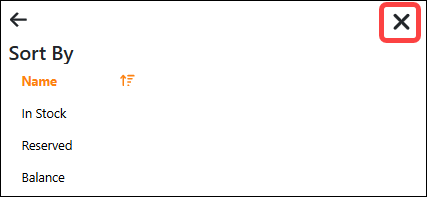
Result: Providigo displays your items in ascending or descending order for the sort criterion you chose.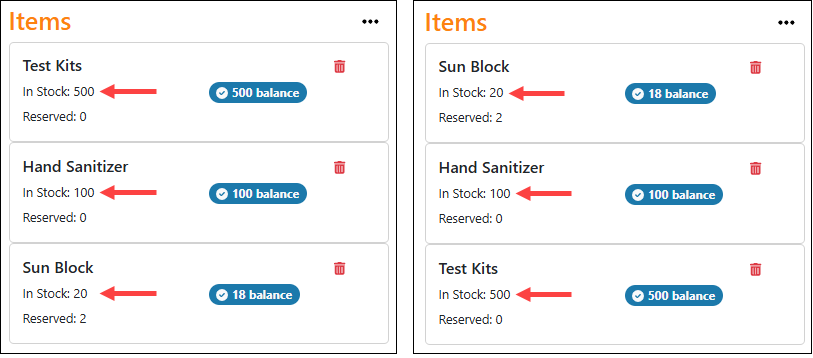
Note: The sort order you set is cleared when you navigate away from the Items page.
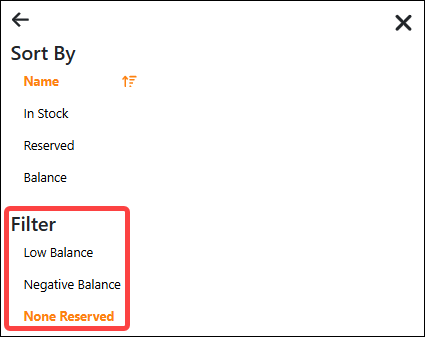
How do I filter my Items list?
You can filter your list of items to see only the items you want to see. The options are items with a low balance, items with a negative balance, and items which have not been reserved.
To filter, follow the steps given next. The images in the steps illustrate filtering by “None Reserved.”
- Select the ellipsis icon on the Items Page.
- Select Sort / Filter near the bottom of the page.
- Select Low Balance, Negative Balance, or None Reserved in the Filter section of the page.
Note: Clicking a filter criterion a second time will remove the filter setting. - Select the “X” icon in the lower portion of the page.
Result: Providigo displays your items according to the filter setting you chose.
Note: The filter you set is cleared when you navigate away from the Items page.
Managing Barcodes & Providicodes
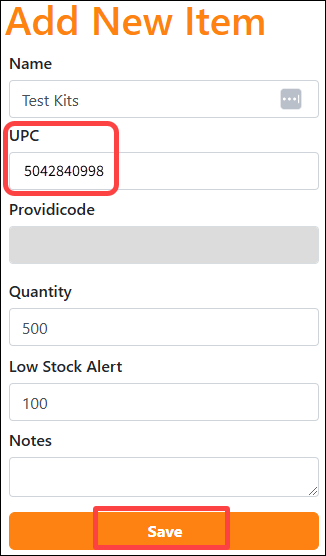
How do I add a UPC barcode to an item in Providigo?
You can add a barcode to an item’s record in one of two ways:
- By scanning the UPC barcode that appears on a product when adding a new item. See “How do I add an item by scanning a barcode?” for instructions.
- By entering a barcode when adding or modifying an item manually. See “How do I add an item manually?” for instructions.
What is a Providicode and why would I use one?
A Providicode is a numeric identifier unique to each new item you add to Providigo. This code is automatically added when you save the item.
Providicodes are useful for items that do not have a UPC barcode, such as kits that you may assemble locally. You can generate a document containing Providicodes for any given item, giving you a way to physically attach a barcode for easier tracking.
How can I generate printable Providicodes for an item?
You can use the Generate Barcodes feature to create a PDF document containing Providicodes with scannable barcodes for any item. To generate Providicodes, follow the steps given next.
- Click an item in the Items page.
- Click Generate Barcodes near the bottom of the Item Details page.

- Select a label Template and the Number of Labels you would like to generate in the “Print Barcodes for Item” page.

- Select Generate Barcodes.

Result: A PDF containing your barcodes is downloaded to your device.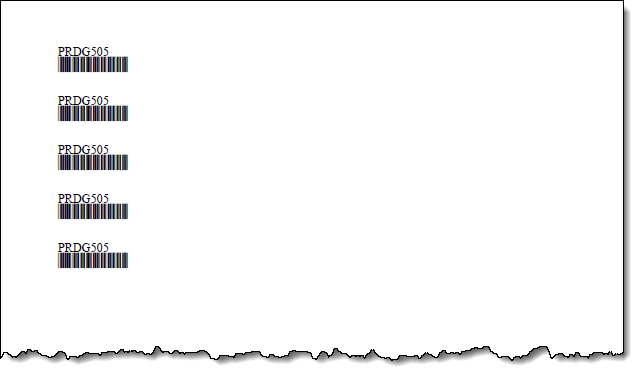
Managing Vendors
How do I add a new vendor?
You can add a barcode to an item’s record in one of two ways:
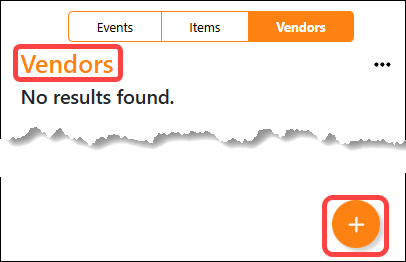
- Go to the Vendors page, and then click the plus sign icon near the bottom.
- Enter information in the fields of the Add New Vendor page, and then click Save.

Result: Providigo displays the new vendor in the Vendors page.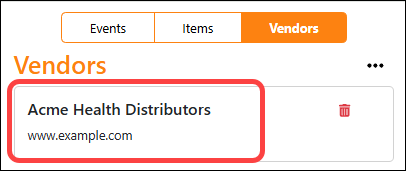
Exporting Reports
What does downloading an export report provide me?
Downloading an export in Providigo provides you with a CSV-formatted file that contains all the information that you have saved in Providigo. You can download a report for your events, your items, or your vendors.
How do I access the report downloading links and export a report?
You can access downloading links and complete a download in one of two ways:
- Via the Events, Items, or Vendors page:
- Go to the Event, Items, or Vendors page.
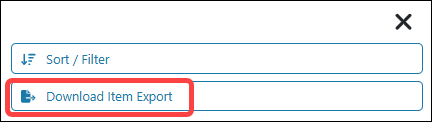
- Select the ellipsis icon.
- Select the Download Export link.
- Go to the Event, Items, or Vendors page.
- Via the Reports link:
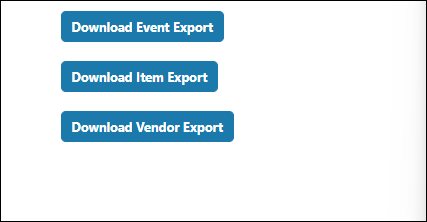
- Select the Reports icon at the bottom of any Providigo page.
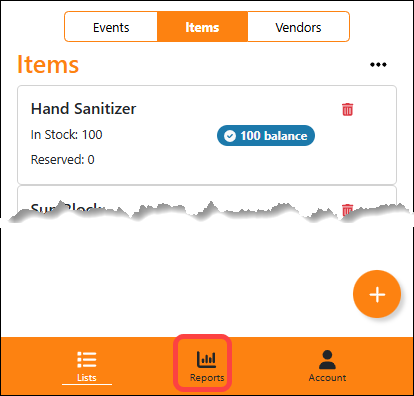
- Click the Download Export button for either events, items, or vendors.
Result: Providigo downloads a CVS file to your device for events, items, or vendors.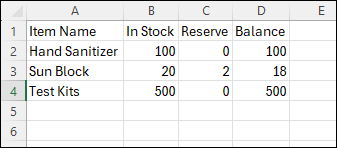
- Select the Reports icon at the bottom of any Providigo page.
Managing Your Account
How do I access the My Account page and see basic information about my Providgo account?
- Log in to Providigo.
- Click the Account icon at the bottom of the window.
Result: Providigo displays the My Account page, which shows your plan level, rate, and renewal date.
How do I see details about my Providigo subscription?
- Access the MyAccount page. (See “How do I access the My Account page?” for instructions.)
- Click Manage Subscriptions.
Result: Providigo displays details about your current subscription, payment method, billing information, and invoice history.
How do I add a Team to my account?
- Log in to your account and go to the My Account Page.
- Click Add Teams.
- Enter a name for your team in the Add New Team page, and then click Save.
Result: Providigo displays your Team in the My Teams box of the My Account window.
How do I add users to my Team?
- Go to the My Account page.
- Click in the My Teams box.
- Copy the invite code, which is located in the Users section of the page.
- Provide the code to your user, and instruct them to:
- Sign up for a free account at Providigo.com using the Sign up button.
- Go to the My Account page.
- Enter the invite code where requested in the “Received an invitation?” field.
Result: The user is added to your Team.
- Sign up for a free account at Providigo.com using the Sign up button.
How do I change my subscription plan?
- Click Manage Subscription in the My Account page.
- Click Update subscription in the Current Subscription page.
- Select the plan you want, and then click Continue.
- Review your plan information, and then click Confirm in the “Confirm your updates” window.
Result: Providingo saves your new subscription and displays your new plan in the current subscription window.
What other subscription and account-related tasks can I perform in the Current Subscription window?
By clicking the Manage Subscription button, you can perform several subscription and payment tasks. Tasks you can do include:
- Updating and editing billing information by clicking the edit icon in the Plan section of the window or by clicking Add payment method in the Payment Method section.
- Updating contact and personal information by clicking Update information in the Billing Information section.
- Downloading a subscription invoice or receipt by clicking a completed payment in the Invoice History section, and then clicking Download receipt or Download invoice.
- Cancelling your subscription plan by clicking Cancel subscription in the Plan section.